For large gardens up to 1,200 m² · Delivery in 1–2 days
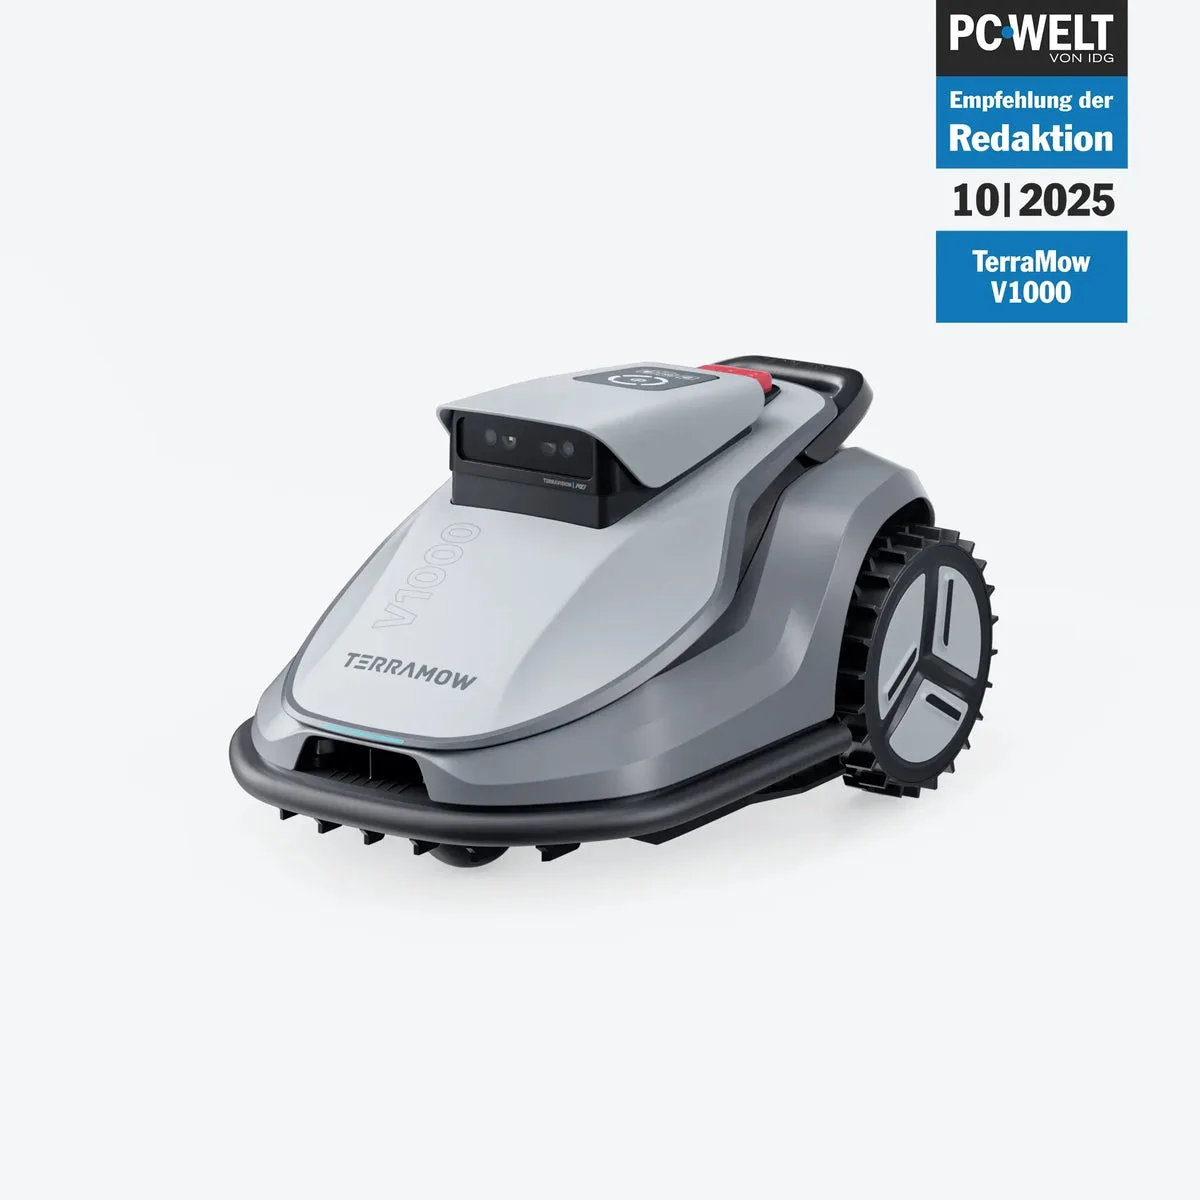
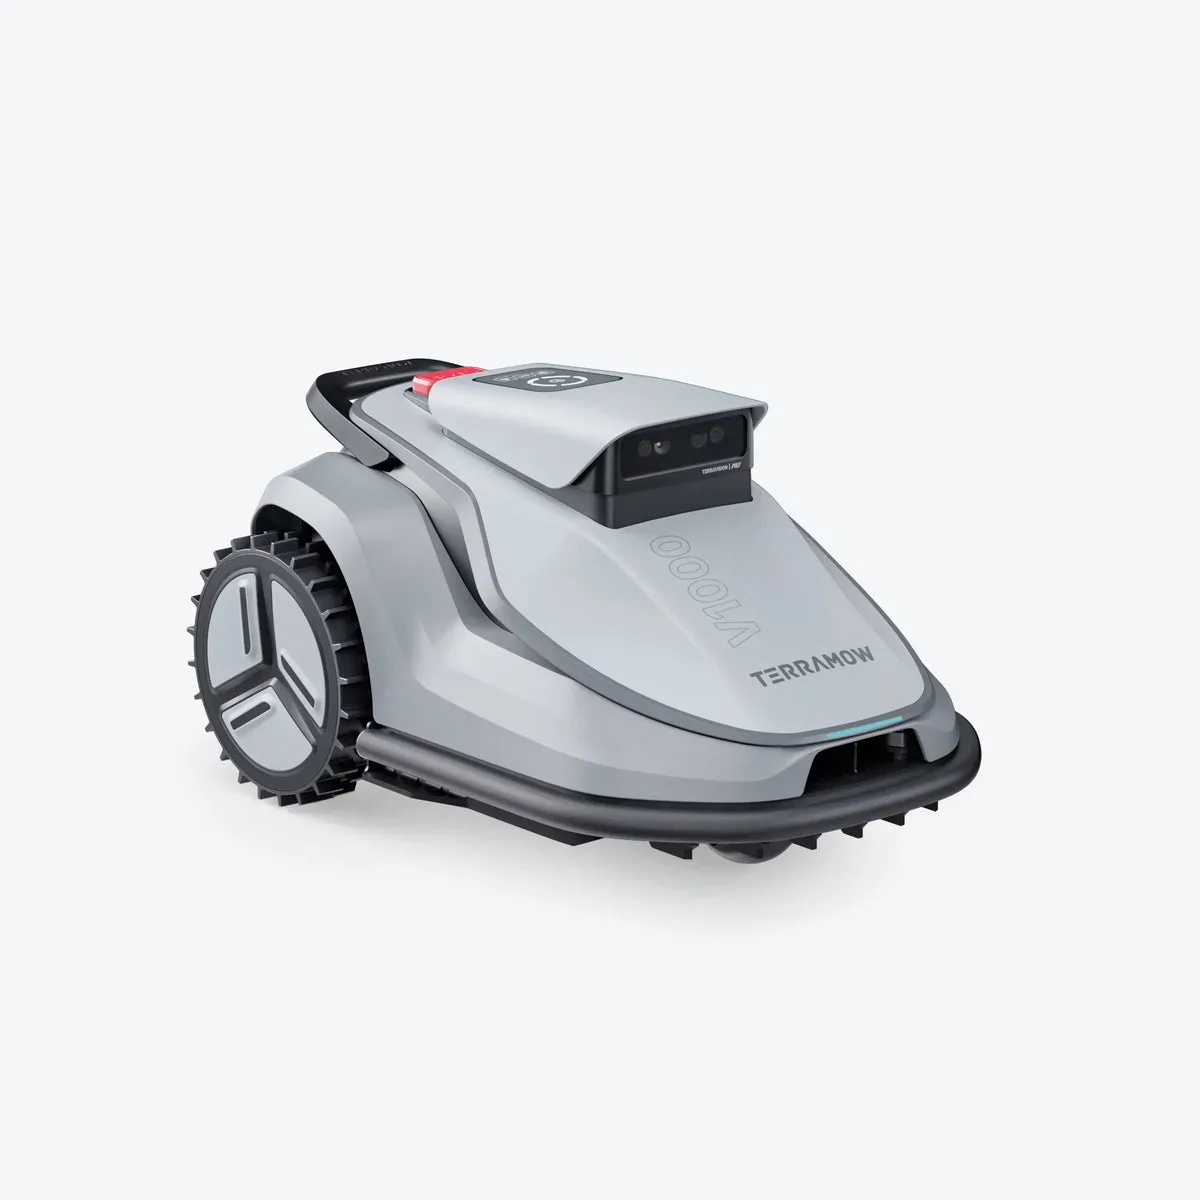
TerraMow V1000 – Robot Lawn Mower with No Boundary Wire & No RTK
For larger gardens up to 1,200 m²: the same easy operation as the V600 – but with more area performance per charge, electric cutting-height adjustment via the app and OTA updates. No boundary wire, no RTK antenna, no forced app.
Garage FREE
Worth ~249 €
Worth ~249 €
27× Spare Blades FREE
Worth ~39 €
Worth ~39 €
4G Module (1 year) FREE
Worth ~19 €
Worth ~19 €
Free Shipping FREE
Worth ~20 €
Worth ~20 €
1199.00 €
1299.00 €
−8 %
incl. VAT
In stock · Delivery in 1–2 business days
✓ 60-day returns
✓ 3-year warranty
✓ Best-price guarantee
✓ Free shipping
Secure payment:
Visa
Mastercard
Apple Pay
Google Pay
Questions before buying? Email us at info@terramow-online.de – usually a reply the same business day.